Configuration
Once the Smart Building Automation app has been connected to the system, only a few configuration steps are required to adapt the Smart Building Automation system to your individual requirements.

Once the Smart Building Automation app has been connected to the system, only a few configuration steps are required to adapt the Smart Building Automation system to your individual requirements.
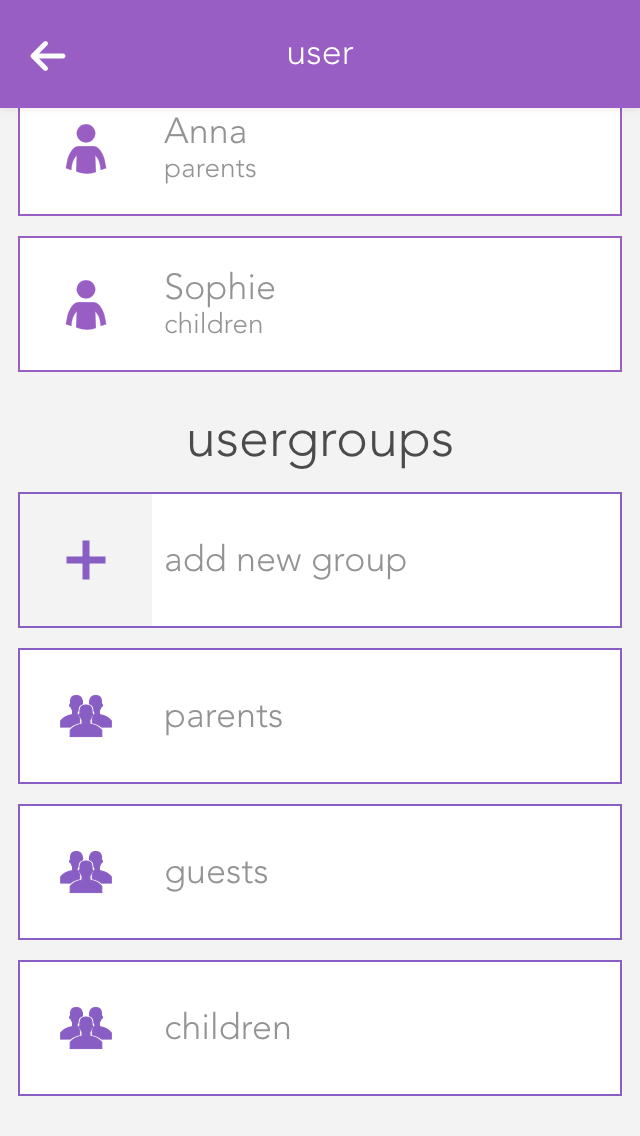
Users can be assigned different permissions in the Smart Building Automation system. For example, access can be restricted so that children can only use functions in their own rooms. Permissions can be managed using user groups.
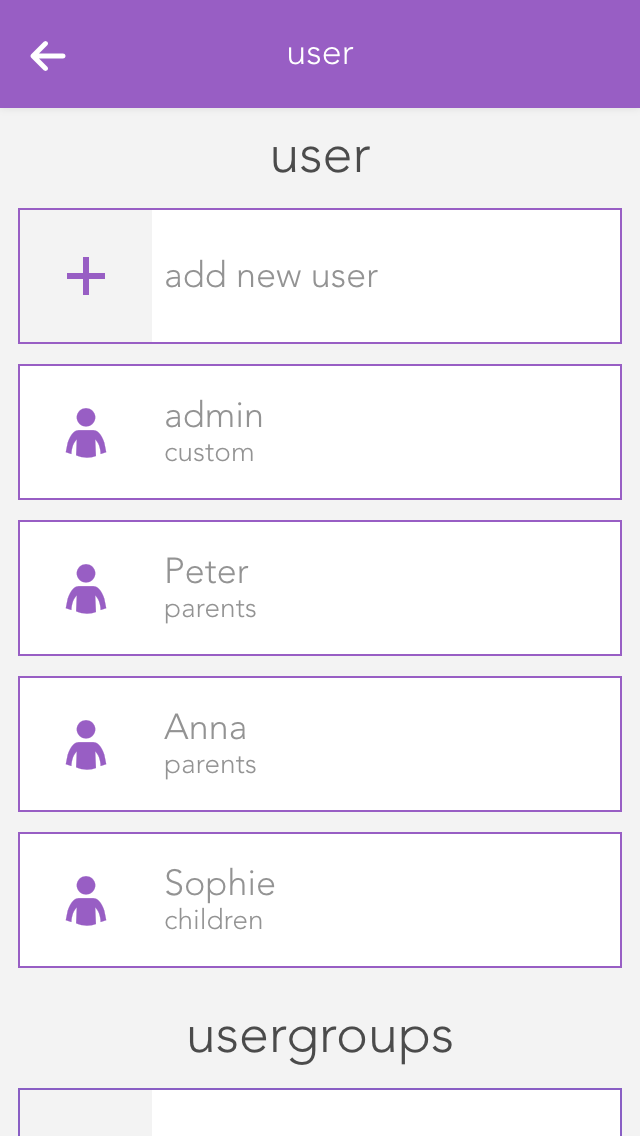
Users and user groups can be found under "All Apps" – "Settings".
Users allow you to define individual access and permissions within the Smart Building Automation system.
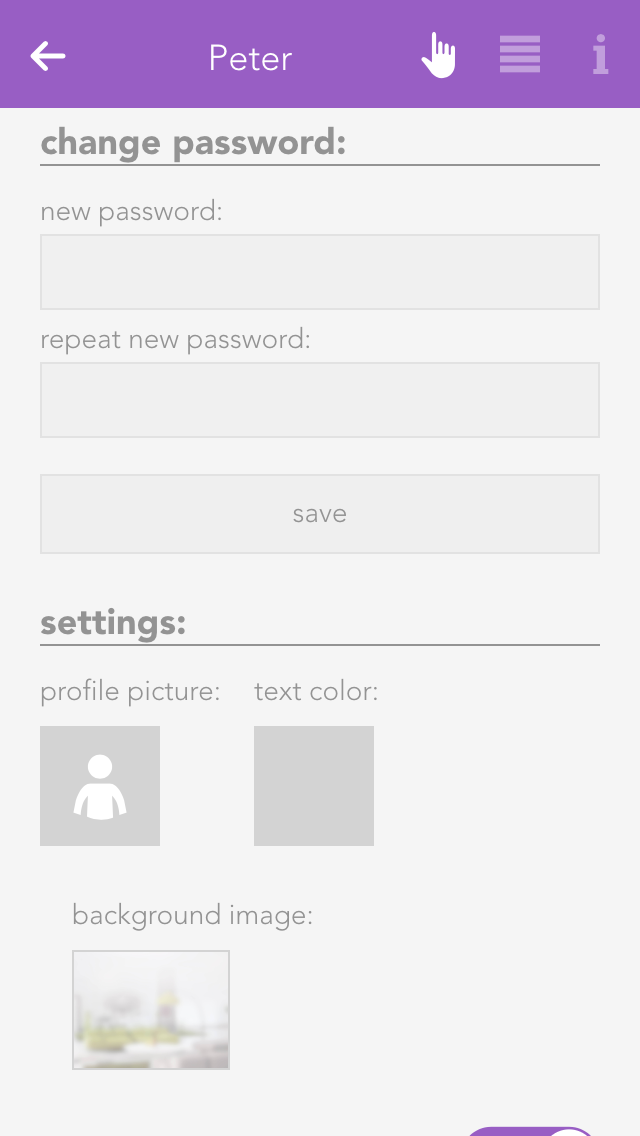
Here you can add a new user or configure an existing one. To create a new user, select "Add user". A panel opens where you can enter the username and an optional description. Set a password for the user to allow login with the corresponding username.
Profile picture
The profile picture to be displayed for this user.
Background picture and text colour
You change the background of your visualization as you wish. The text colour selects the colour of titles such as “favourites” on the home screen so that they are readable, even with other background pictures.
Show areas on the home screen
This setting lets you define whether areas will be displayed on this user’s home screen.
Own favourites
If you activate the option “own favourites”, you can customize the favourites on your own home screen without these changes being visible to other users. If this option is deactivated, then your favourites are shared with other users and any changes will be visible to all users.
Language
This lets you change the language for this user. To change the language of the current user, click on “load new language settings”.
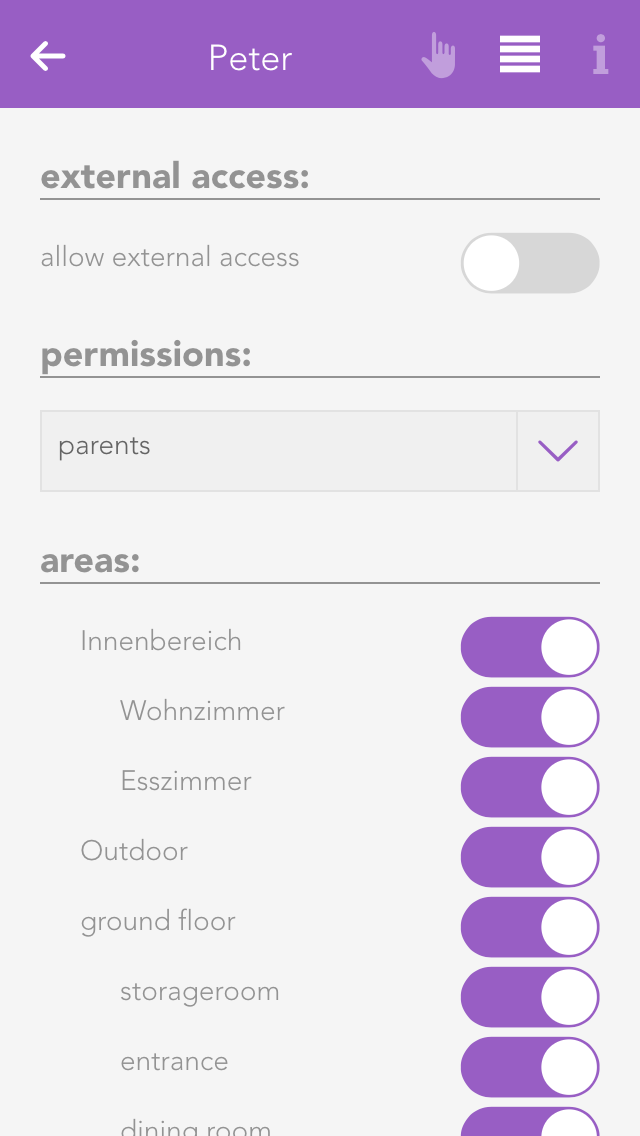
Allow external access
This option defines whether the user is allowed to connect to the Smart Building Automation system via external access.
Permissions
Here you can assign permissions to the user. To define permissions independently of a user group, select "User defined". The individual permissions are described further below. If the user should not have any permissions, select "No permissions".
Areas
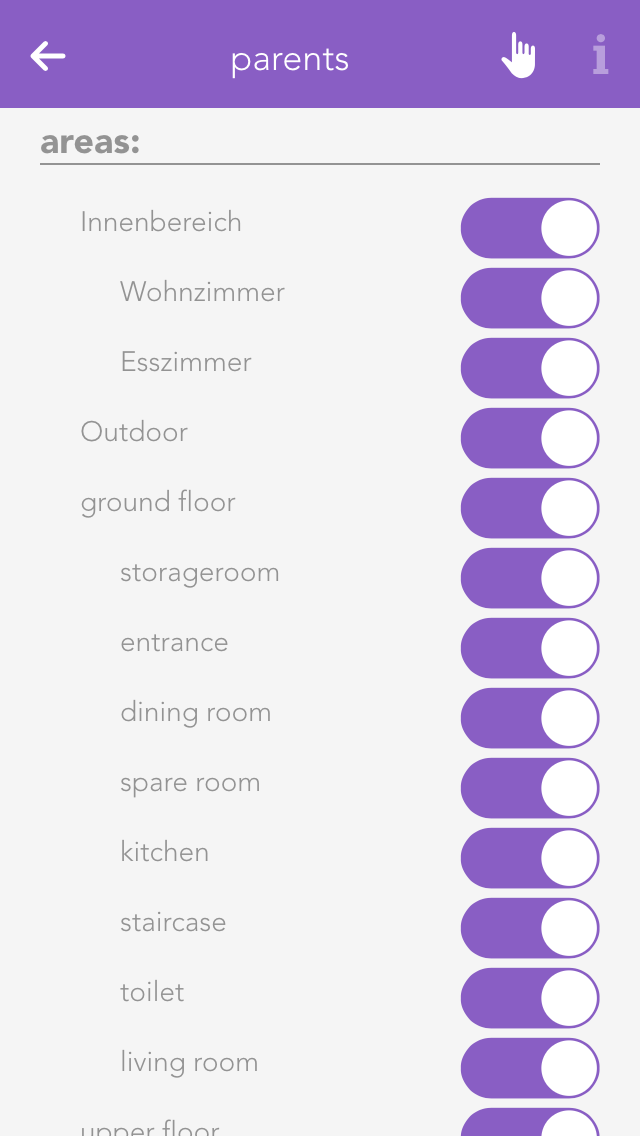
In the "Areas" section, you can define which areas the user is allowed to access. If the user is assigned to a user group, the permissions for these areas are already defined by the group and can only be restricted further for the individual user.
Some changes cannot be made to the user currently used to log in. For example, administrator permissions cannot be removed and the currently logged-in user cannot be deleted.
User groups allow you to configure rights for several users.
The settings can be modified for a user group that already exists, or a new one can be created. To create a new user group, click on the element “add group”. This opens a panel where you can enter the name of the group (e.g. “guests”), and assign colour and an icon.
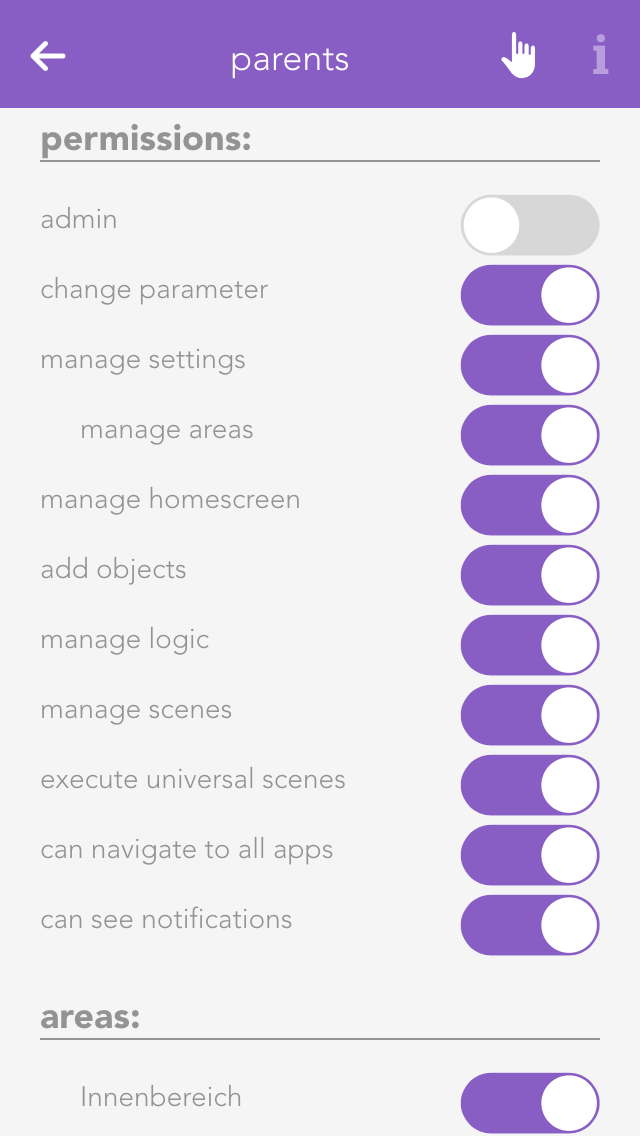
Permissions define which functions users in this group are allowed to access and use in the Smart Building Automation system.
Admin
This level of rights gives the user full access to all possibilities in the system. All the following rights are deactivated, since they are all included in the admin rights.
Change parameter
Users in this group are allowed to change parameters, i.e. all settings accessible via the parameter symbol.
Manage settings
The user can open the settings (all apps – settings) and make changes. Exceptions are the user settings.
Manage home screen
The user can change the start page of the app, in other words, they can set favourites and move elements. See also “own home screen”.
Add object
The user can add new objects to the system, for example a new surveillance camera, a new Denon system, etc.
Edit logic
The user can create and edit logic elements.
Edit scenes
The user can create and edit scenes; otherwise scenes can only be executed.
Edit area
The user can create and edit areas.
Execute universal scene
The user can execute universal scenes such as close all blinds, switch on all lights, etc.
See all apps
The user can open all apps, otherwise they only have the possibility to open apps that are on the home screen.
See notifications
Notifications are displayed for the user (such as wind, alarm system, etc.).
In “areas”, you can define which areas the users in the group will be able to access.
The "Areas" app allows you to organize the Smart Building Automation system into rooms and assign elements such as lights and blinds to them. This makes it easier to find and access the individual elements.
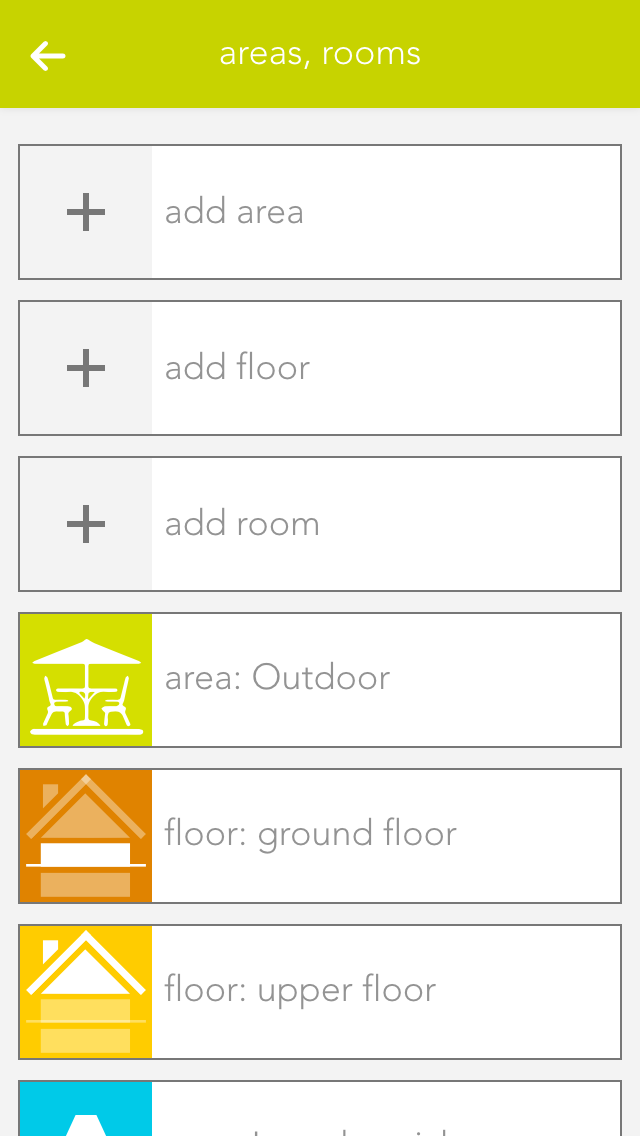
Previously defined rooms are displayed on the home screen as long as they contain elements. To manage rooms, open "Settings" and select "Areas, Rooms".
To add rooms, areas, or floors to the Smart Building Automation system, select the corresponding option (e.g. "Add room"). The OperatorPanel of the newly created element opens automatically.
Enter a name and an abbreviation for the room. To assign the new room to a floor, select the corresponding floor. To move the element back to the highest level, select the empty entry under "Areas, floors".
Alternatively, navigate to a floor first and add the room directly there.
If you wish to personalize your rooms, you can select colour, icon and background picture for your room. Do this by opening the operator panel for the room via in “settings” – “areas, rooms” and select the element under “settings” and modify it.
Open the area via the button “edit” and view the elements for this area. If you want a shortcut to an area, simply click on the area of the symbol in the object panel (left).
You can also link each room with a room thermostat. Do this by allocating an element to this room in the app room climate. If you have allocated more than one room thermostat to a room, you can use the parameter panel of the room to select the room thermostat you wish to use for the room temperature display.
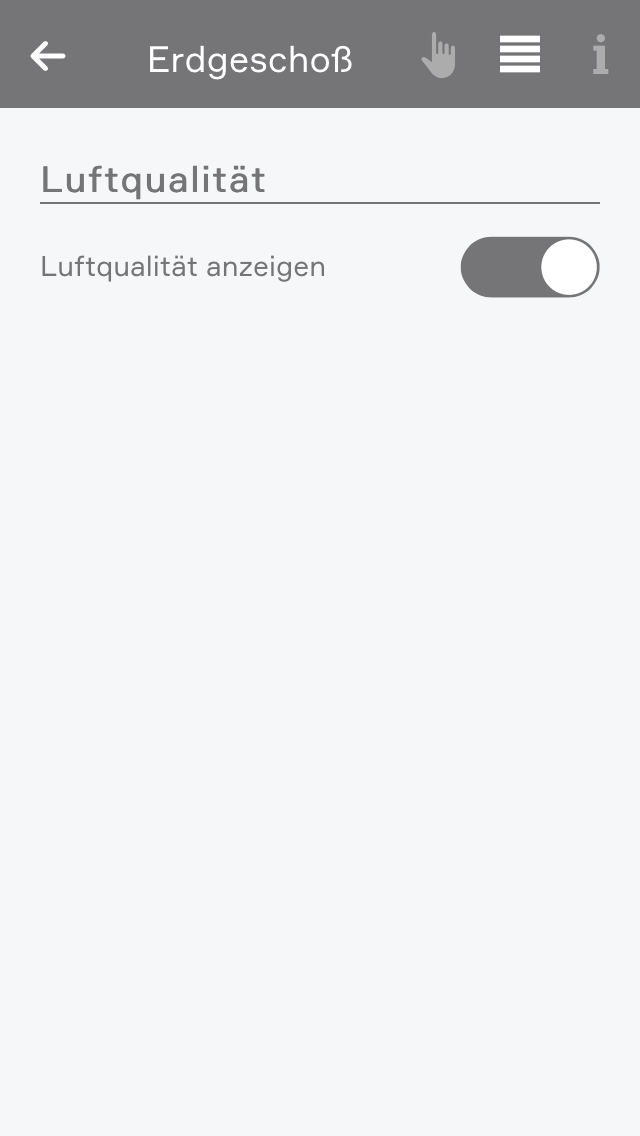
In den erweiterten Einstellungen können Sie angeben welche Elemente zur Berechnung und Anzeige des Raumklimas verwendet werden sollen. Außerdem können Sie hier das Raumklima des Raumes ausblenden.
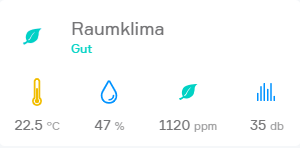
Wenn Temperatur-, CO2-, Feuchtigkeits- oder Geräuschsensoren dem Raum zugewiesen wurden, wird im Raum das Raumklima angezeigt.
Je nach Zustand des Raumes wird hier ein Gesundheitswert berechnet welcher von "Hervorragend" bis "Sehr schlecht" reicht. Wenn sich der Zustand des Raumes verschlechtert bekommen Sie eine Benachrichtigung über den verschlechterten Zustand.
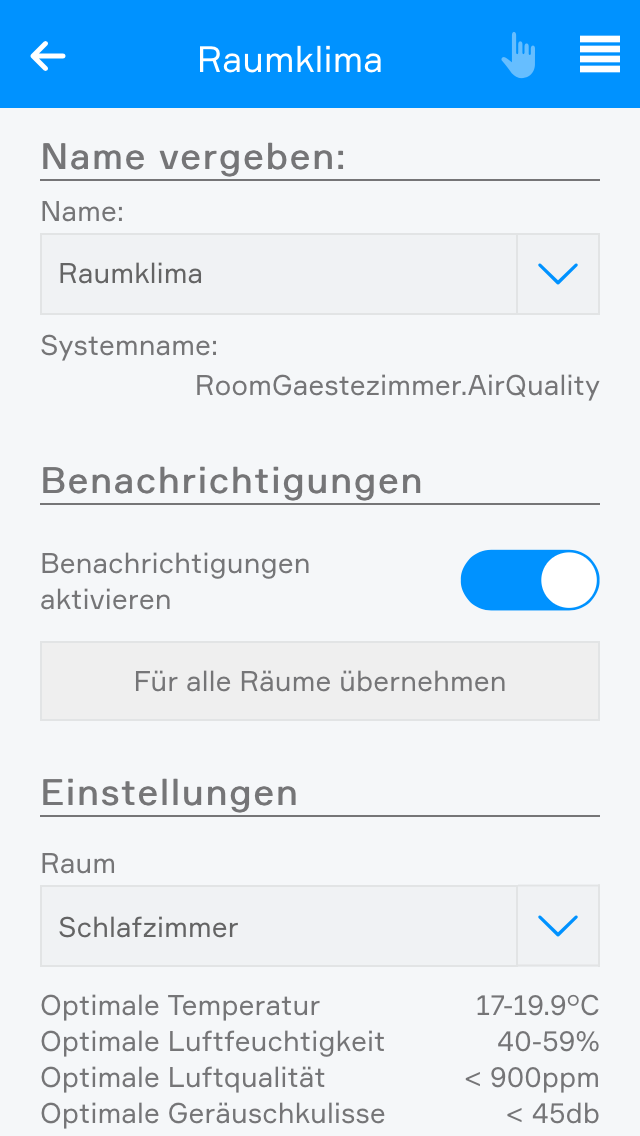
In den Einstellungen des Raumklimas können Sie die Benachrichtigungen deaktivieren.
Außerdem können Sie hier die optimalen Grenzwerte des Raumes anpassen.
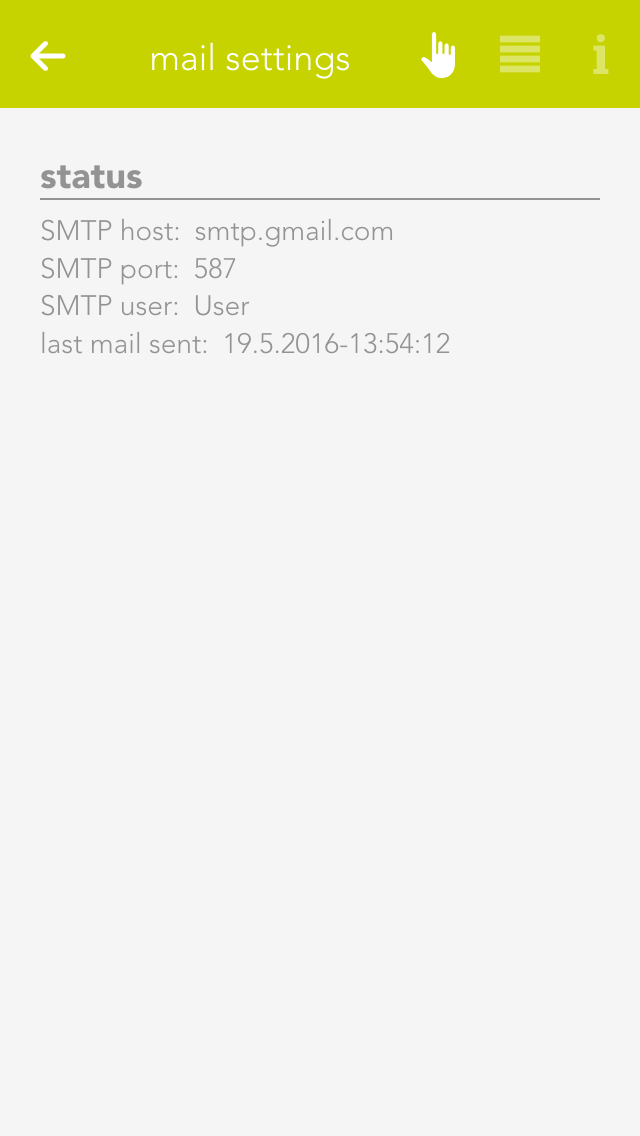
This app lets you send email notifications via an existing email account. The “test mail” function is used to test the configured settings. You will need to obtain the required settings for the SMTP server from your email provider.
You can either send a test email or you can select “send email” in the “system” tab in a scene “if …” statement. Then all you need to do is enter the sender, recipient, subject and text.
If you wish to register with your Gmail account, then you must allow “less secure apps” in your Gmail account. Simply open the link to the Google Config and click “activate”.
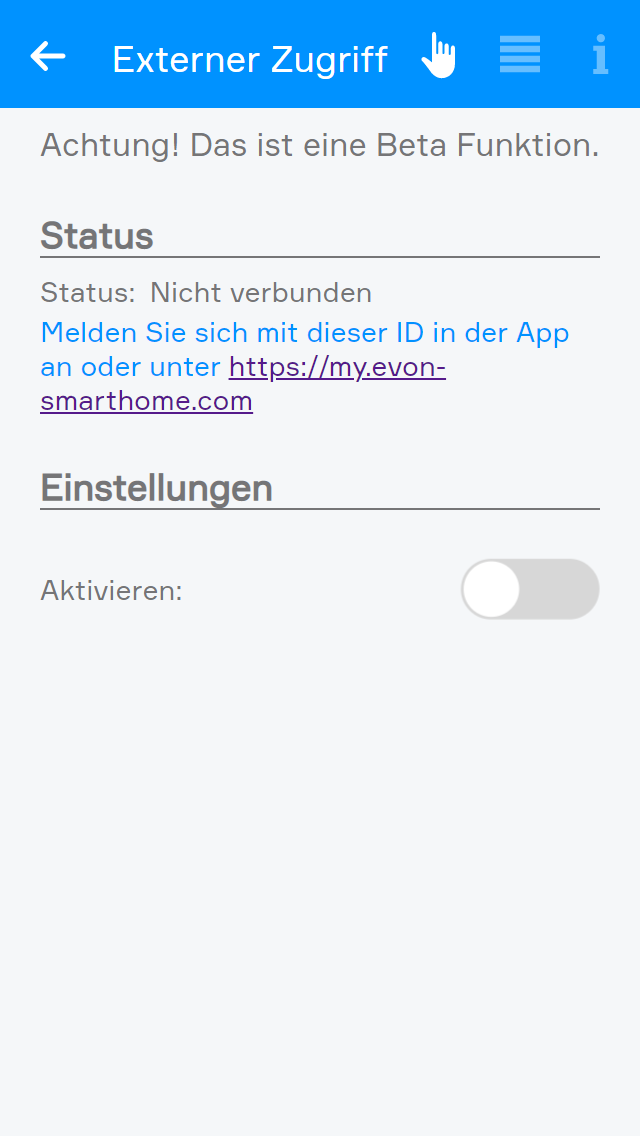
External access allows you to connect to your Smart Building Automation system when you are away from home. Once this function has been activated, you can access and operate your system from anywhere with an internet connection, just as you would at home.
The configuration for external access can be found under "All Apps" – "Settings".
Enable external access in the settings by activating the corresponding option.
Once external access has been enabled, the displayed status changes from "Not connected" to "Connected" and the Smart Building Automation ID is displayed. This ID is required to connect to the Smart Building Automation system via external access. Make a note of the ID, as it is required in the next step.
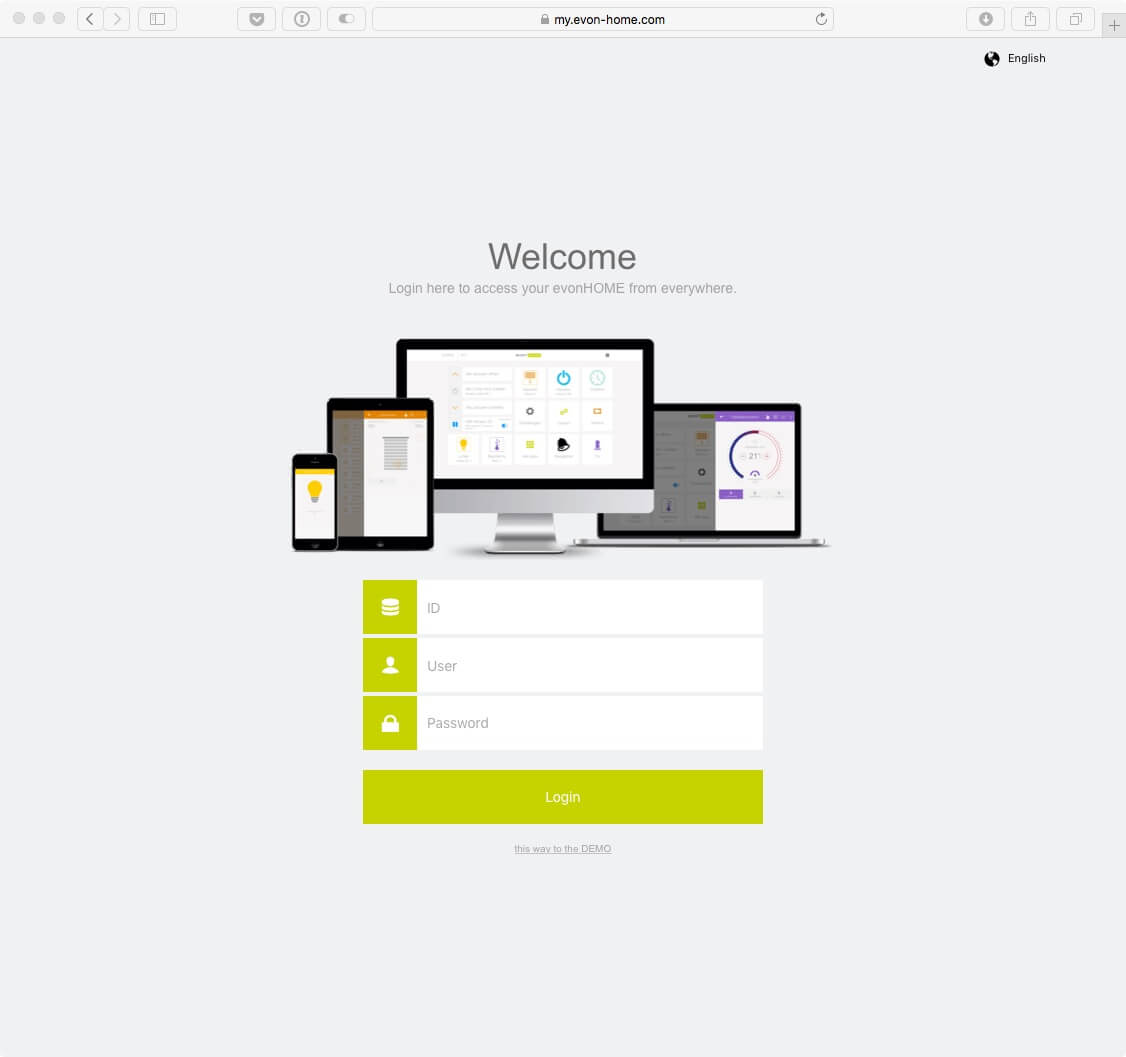
The Smart Building Automation ID can also be used to access the system from a supported web browser via my.evon-home.com.
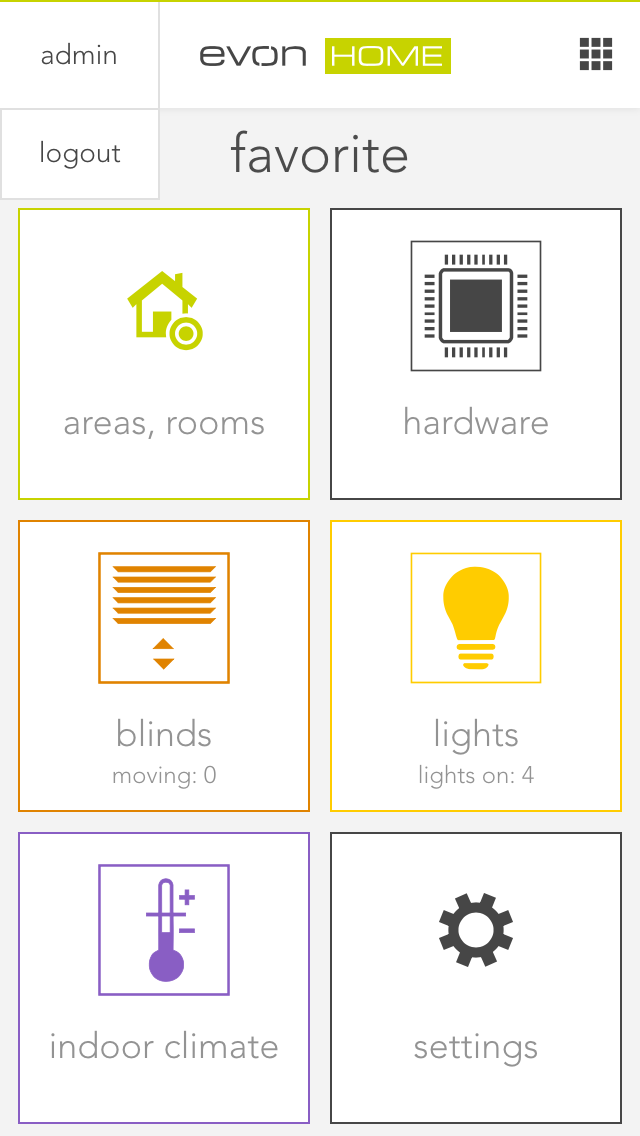
Return to the main screen. The currently logged-in username is displayed in the upper-left corner. Select the username to display the logout button, then use this button to log out.
After logging out, the start screen of the Smart Building Automation app is displayed, showing a list of all previously connected systems.
Select "New" to create a new connection. An overview of the available connection types is then displayed.
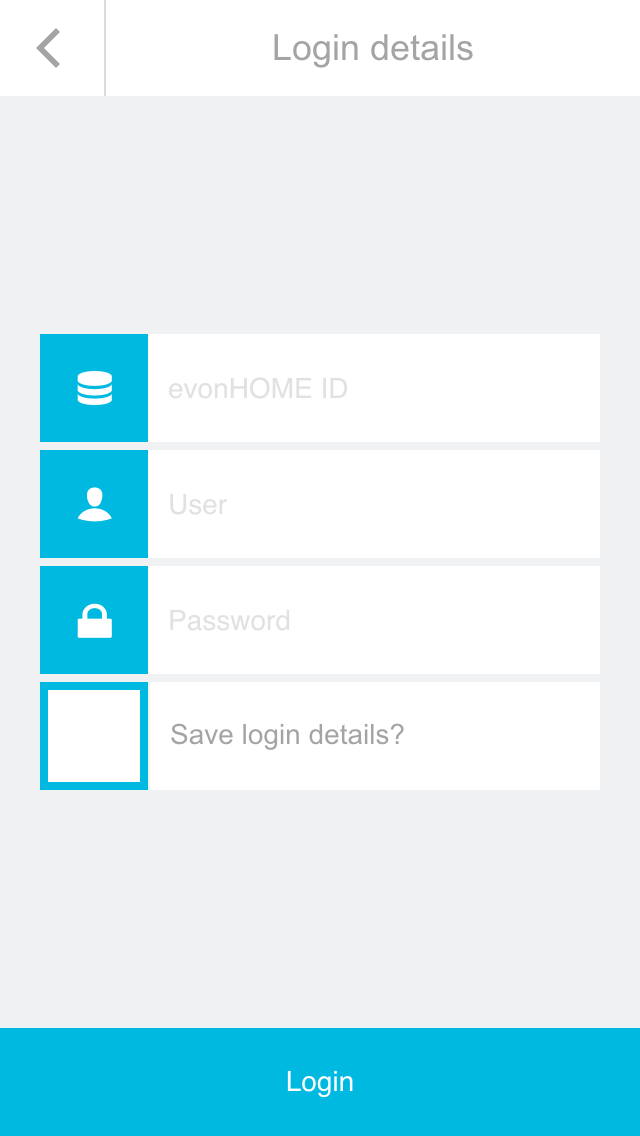
Select "Internet" as the connection type. On the next screen, enter the Smart Building Automation ID together with your username and password. Then use the button at the bottom of the screen to establish the connection.
Once the connection to the Smart Building Automation system via external access has been established successfully, it is displayed on the start page of the app. From there, the connection can be selected again at any time.
Establishing the first external connection to the Smart Building Automation system may take some time. Once the connection has been established, wait until all data has been loaded before closing the app.
Once external access has been activated, the Smart Building Automation system can be accessed from any supported browser (Safari, Chrome, or Edge).
Open my.evon-home.com and log in with your credentials. In addition to the username and password, the Smart Building Automation ID generated when external access was activated is required.
When accessing the Smart Building Automation system via a supported browser, some device-specific functions of the mobile app may not be available. These include native notifications, which can also be displayed when the app is not currently in use.
The “devices” app shows you all mobile devices that have been registered in your system.
The “devices” app is under “all apps” – “settings” – “devices”.
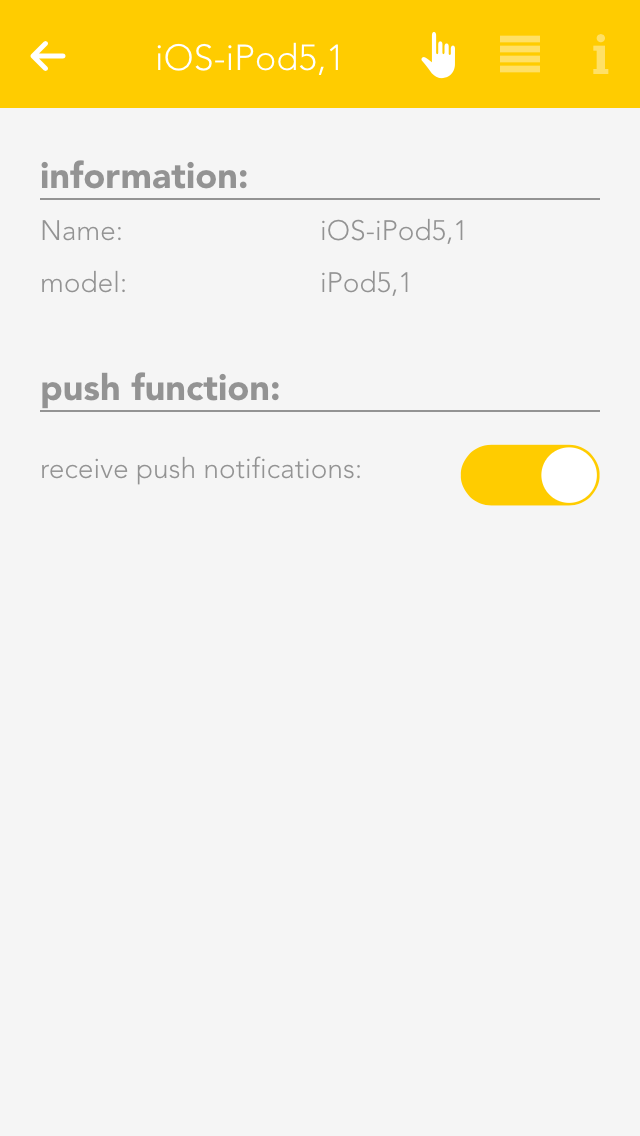
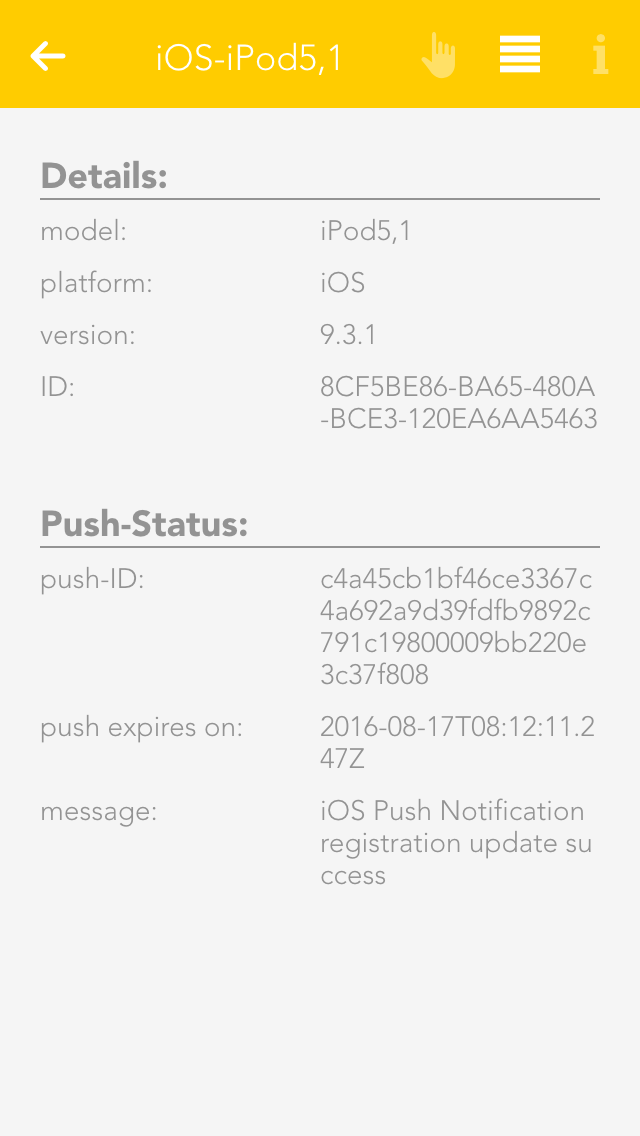
If you open a device, the display shows you the name and model of the device in the operator panel. The parameter panel shows detailed information concerning the device.
If you wish to receive notifications on this device (e.g. window is open), then you need to activate the checkbox “receive push notifications”.
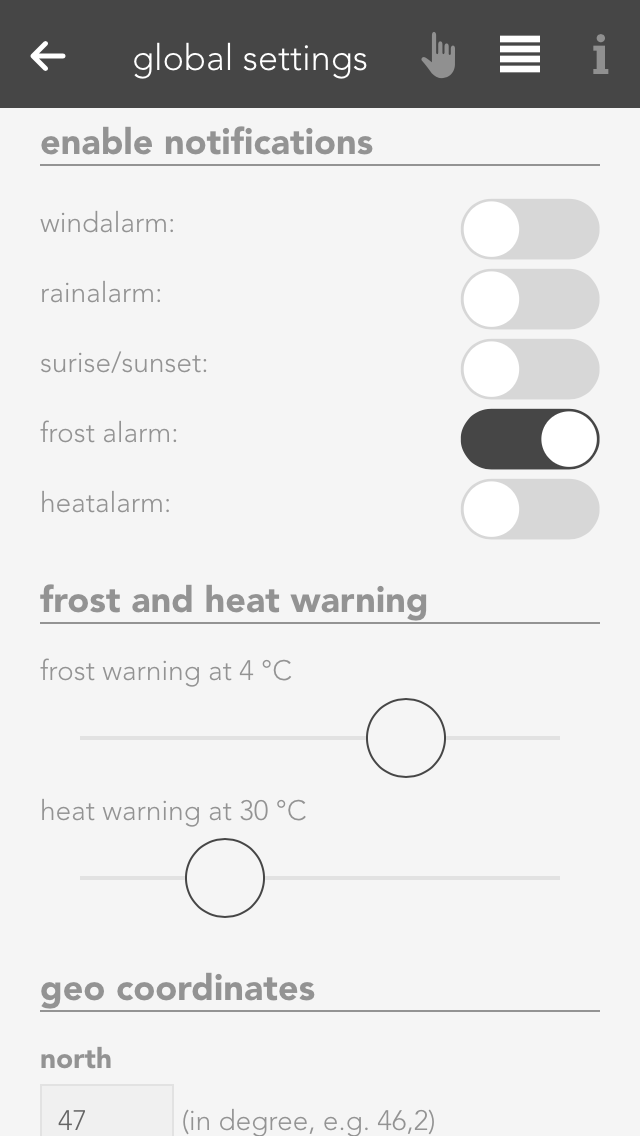
The global settings define which components in the Smart Building Automation system provide the states for wind, rain, frost, dusk, etc. For example, if a rain sensor is connected, its status can be used throughout the system to determine whether it is raining.
The global settings can be found under "All Apps" – "Settings".
In the "Rain" section, you can define how precipitation is detected. Detection can be based directly on the Smart Building Automation weather station or on any digital signal. When using a digital signal, an active signal indicates rain.
Any digital signal can be selected using the "Select another value" function.
In the "Sunrise/Sunset" section, you can define how day and night are determined. Detection can be based directly on the Smart Building Automation weather station, on the geographic coordinates combined with the current time, or on any digital signal. When using a digital signal, an active signal indicates night.
The weather station can be selected using the "Select sensor" button.
Any digital signal can be selected using the "Select another value" function.
Selecting "Use geographic coordinates" opens a pop-up window in which the current geographic coordinates can be entered. When connected via remote access or the Android app, the location can be detected automatically. The "Is night" signal from the Time app is then linked.
This setting can be used, for example, to close shading elements automatically at dusk.
In the "Wind" section, you can define how a wind alarm is detected. The signal can be provided directly by the Smart Building Automation weather station or by any digital signal. When using a digital signal, an active signal indicates a wind alarm.
Any digital signal can be selected using the "Select another value" function.
In the "Outdoor Temperature" section, you can define how the outdoor temperature is determined. The temperature value can be provided directly by the Smart Building Automation weather station or by a temperature sensor.
The weather station or a temperature sensor can be selected using the "Add" button.
The "Select another value" function can be used to select any numerical value as the outdoor temperature.
Thresholds for frost and heat warnings can also be defined in the ParameterPanel. As soon as the outdoor temperature falls below or rises above the respective threshold, a scene can be triggered or a notification can be generated.
The sunrise and sunset times can be calculated using geographic coordinates.
The geographic coordinates can be entered in decimal format. To determine the coordinates, open the desired location in Google Maps at https://www.google.com/maps. Right-click the corresponding position and select “What’s here?”. The geographic coordinates will then be displayed. The first value represents the latitude, and the second value represents the longitude.
The “Get current geographic coordinates” button is only displayed when the application is accessed via a secure HTTPS connection. This usually applies when accessing the application through a browser or the iOS and Android apps. The button is not displayed in local browser environments without HTTPS because location access is unavailable.
To modify the calculated times, the “Adjust sunrise and sunset times” option must be enabled. The sunrise and sunset times can then be offset by a specified number of minutes to occur earlier or later.
To test how the system behaves in certain conditions, such as rain, the corresponding state can be simulated. In the “Rain” section, first enable the “Simulate rain” option and then activate “Rain on”.
The same type of simulation is also available for wind, outdoor temperature, and daylight.
After testing, the simulation must be disabled again, for example by turning off the “Simulate rain” option.
You can define which events for you would like to receive notification of in the parameter panel.
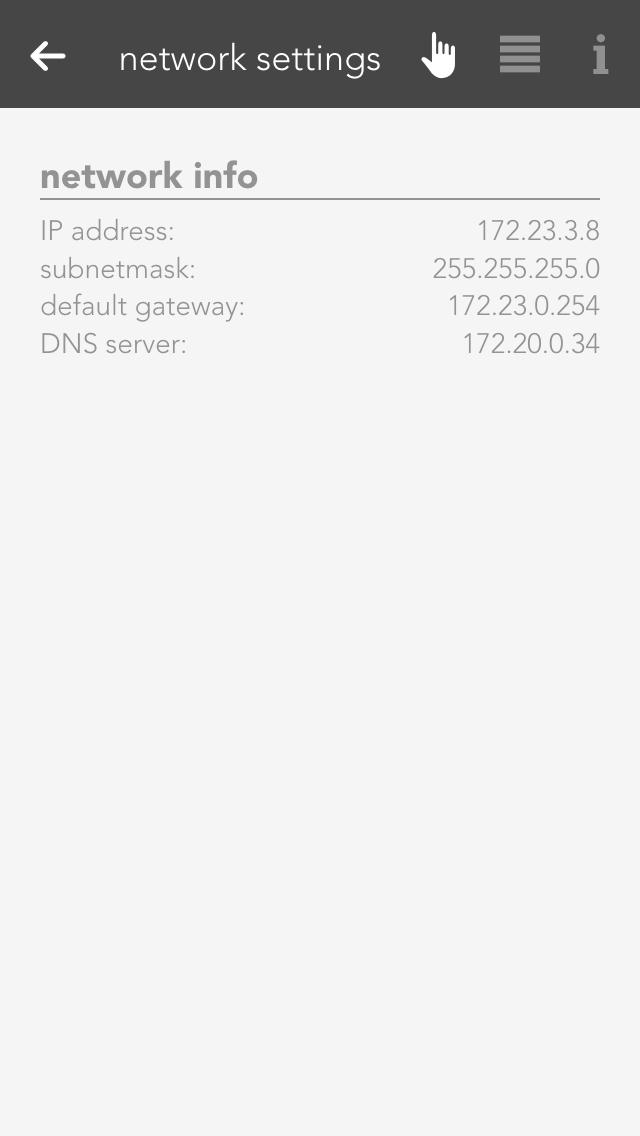
This section contains the network settings of the Smart Building Automation system. You can configure whether the IP address and DNS server are assigned automatically or entered manually.
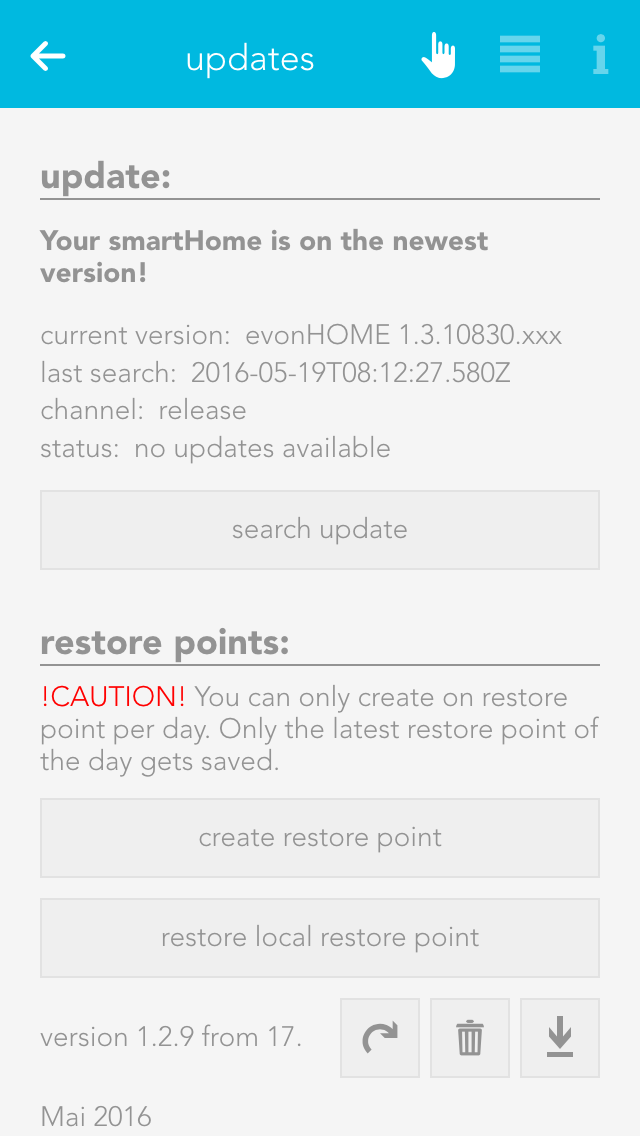
The Updates section allows you to keep the Smart Building Automation system up to date. Select "Search for updates" to check whether a new update is available. If an update is found, select "Execute update" to install it. To have the system check for updates automatically, enable "Search for updates automatically" in the OperatorPanel. The current version, the time of the last update, and the selected update channel are also displayed here.
Recovery points can be created to restore the Smart Building Automation system to an earlier configuration if settings are changed unintentionally. It is recommended to create a recovery point once elements such as lights and blinds have been named and configured as required. The "Reset to factory settings" button restores the system to its original factory settings.
Saved recovery points are displayed in a list and can be deleted, restored, or downloaded at any time.
One recovery point can be created per day. If multiple recovery points are created on the same day, only the most recent one is retained. A previously downloaded recovery file can also be used to restore the system via "Restore local recovery point".
A recovery point of the current configuration is created automatically before every update.
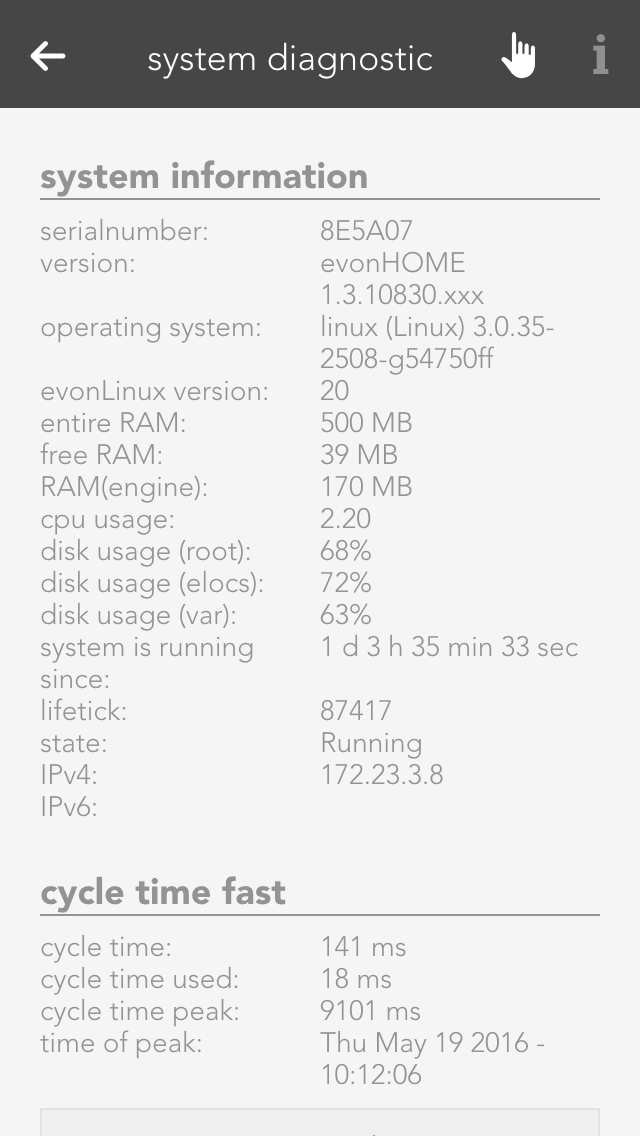
The System Diagnostics section provides important information about the Smart Building Automation system, such as the current software version, memory usage, IP address, and other system information.
The cycle time provides an indication of the current load on the Smart Building Automation system. The last five peak values are also displayed. The cycle time represents the time required for one complete program cycle.
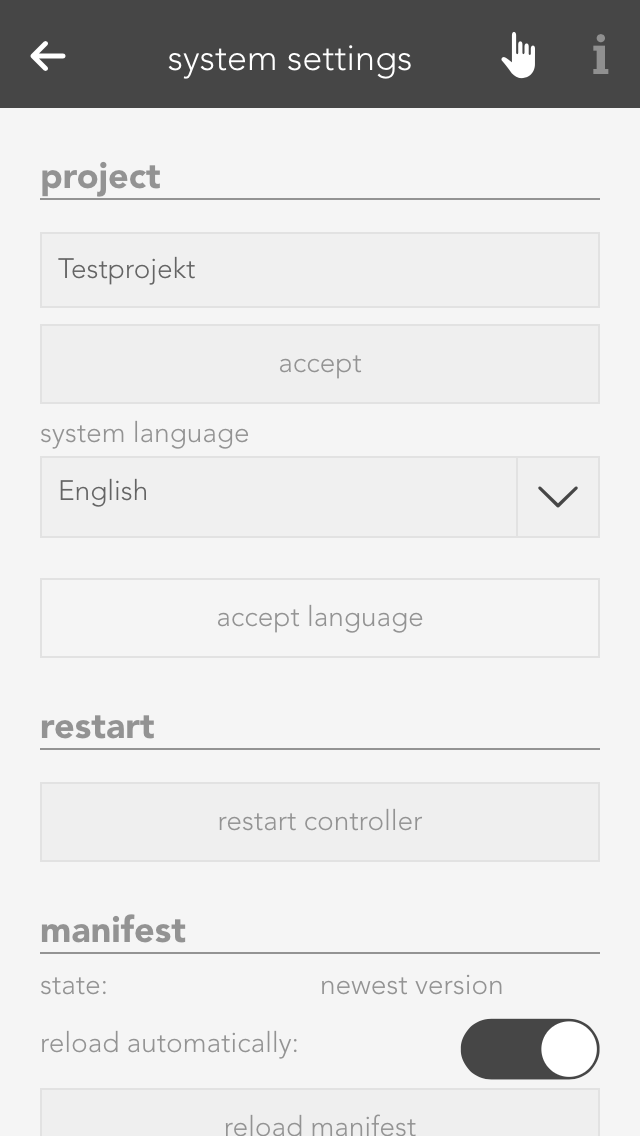
Project name
The project name of the Smart Building Automation system can be defined here.
Restart controller
This function restarts the controller. During the restart, the connection to the controller is temporarily unavailable.
Manifest
This section indicates whether the visualization is up to date. When "Automatic reload" is enabled, the visualization is automatically reloaded if a newer version is available.
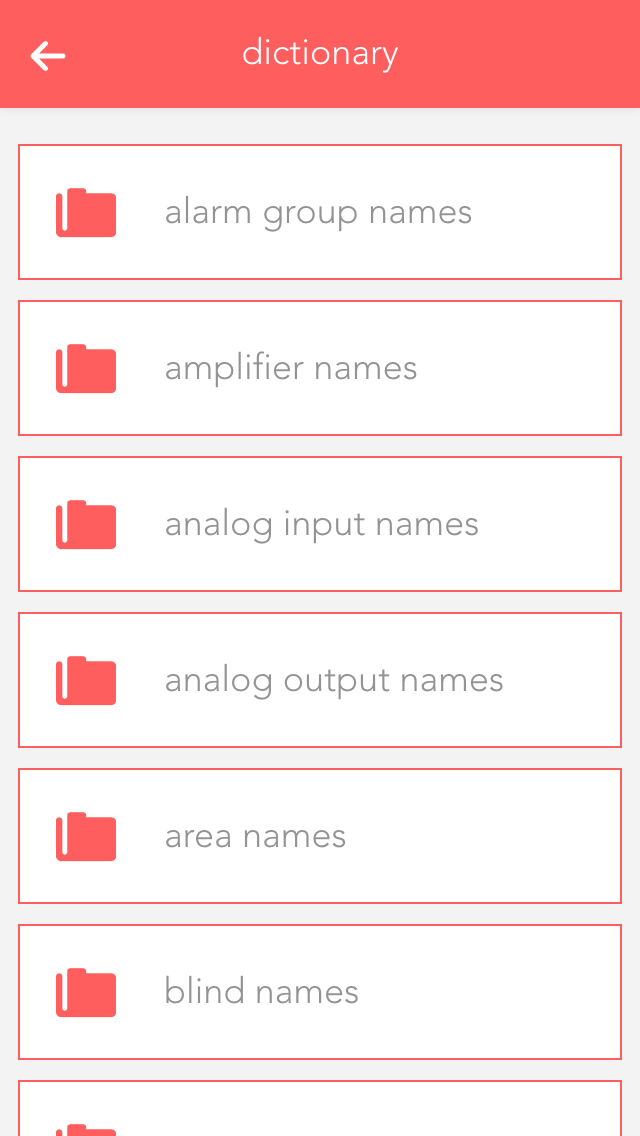
You can edit the pre-defined names in the dictionary. These names will be suggested to you when you wish to name a light, a blind, etc. However, you can even select a different name when naming your elements. The names in the dictionary are only a guide.
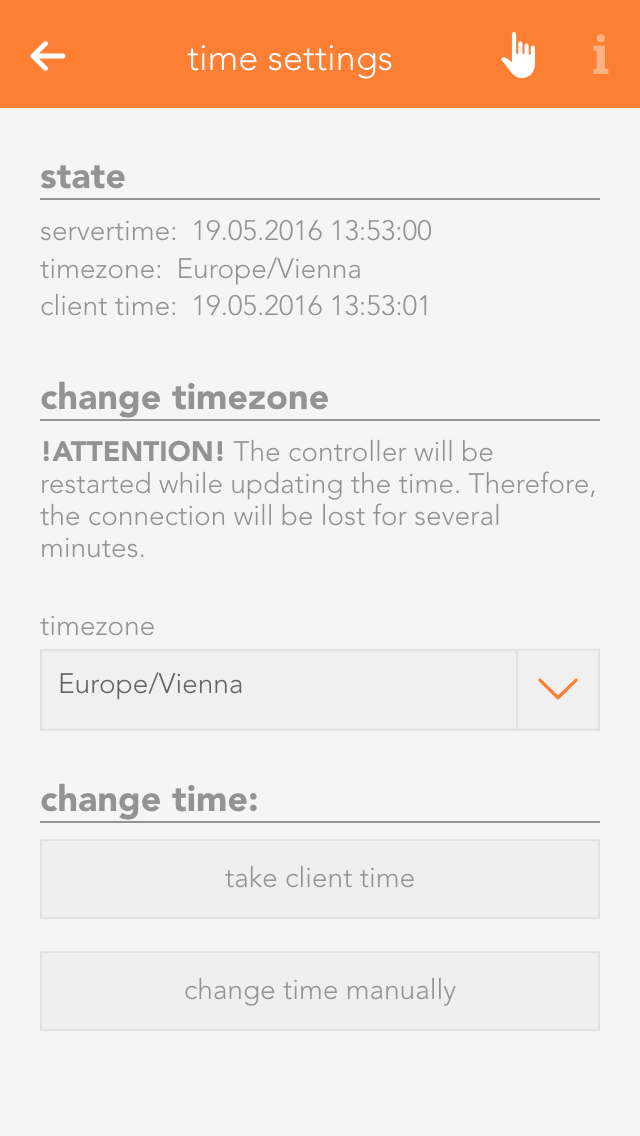
The "Time" section displays the current date and time of the Smart Building Automation controller (server time), the configured time zone, and the time of the device currently connected to the system (e.g. smartphone or tablet).
Under "Time zone", you can select the time zone used by the controller. The "Set time" section allows you to adjust the controller time. Select "Use client time" to apply the date and time of the currently connected device (e.g. smartphone or tablet) to the controller. "Set time manually" allows you to enter the date and time for the controller manually.