General

Your new evon Smart Home can be controlled either conventionally via the pushbuttons mounted on the wall, or also via your PC, tablet or your smartphone. This way, you have your evon Smart Home with you all the time. You have full access to all functions that make your life easier, from your sofa or when you are traveling.

Connecting

In order to be able to control your home via the app, your must first connect to your system. Simply follow these simple steps.

WiFi Connection

Before your activate your evon Smart Home app, make sure you are connected to the same network as your evon Smart Home controller. Simply go to the WLAN settings on your device and check the currently selected WLAN, or connect to the correct one.

In case you switch on your evon Smart Home CPU for the first time and it does not receive a valid IP address after several attempts (DHCP), it will automatically switch to the following static address:

IP-address: 192.168.50.50
Subnetmask: 255.255.0.0

If you are using the WiFi dongle to connect to evon Smart Home the controller will always use 192.168.192.1 as its IP address.

Home Screen

Once you have successfully installed the app via the AppStore, the app is located on the home screen. You can start the app directly from here. After a short time to load the app, you will see the start page of the app.

From here, search for the available evon Smart Home systems. The selection is either a connection via a local Wi-Fi/WLAN or the internet (e.g. mobile network provider via a secure HTTPS connection).

If you are configuring evon Smart Home for the first time, select “Wi-Fi” in order to search for your system via the local WLAN.

Login

After selecting the evon Smart Home system, you will find yourself on the login page.

Enter your username and password. You can also determine whether you wish in future to login automatically with your login data.

To make it easier for you to login to your evon Smart Home on your first configuration, there is also the option to do this by using a QR-code. Use the green button on the top right corner of the login screen to use this feature.

Point the camera at the QR-code, which you will find in your enclosed documents, and position it at the center of the marked area. once the QR-code ist successfully recognized, the associated login field will be filled in.

You have now successfully connected to your evon Smart Home system and can start to control your home.

To connect for the first time, use the username and password or QR-code provided for you in the enclosed documents.

Browser

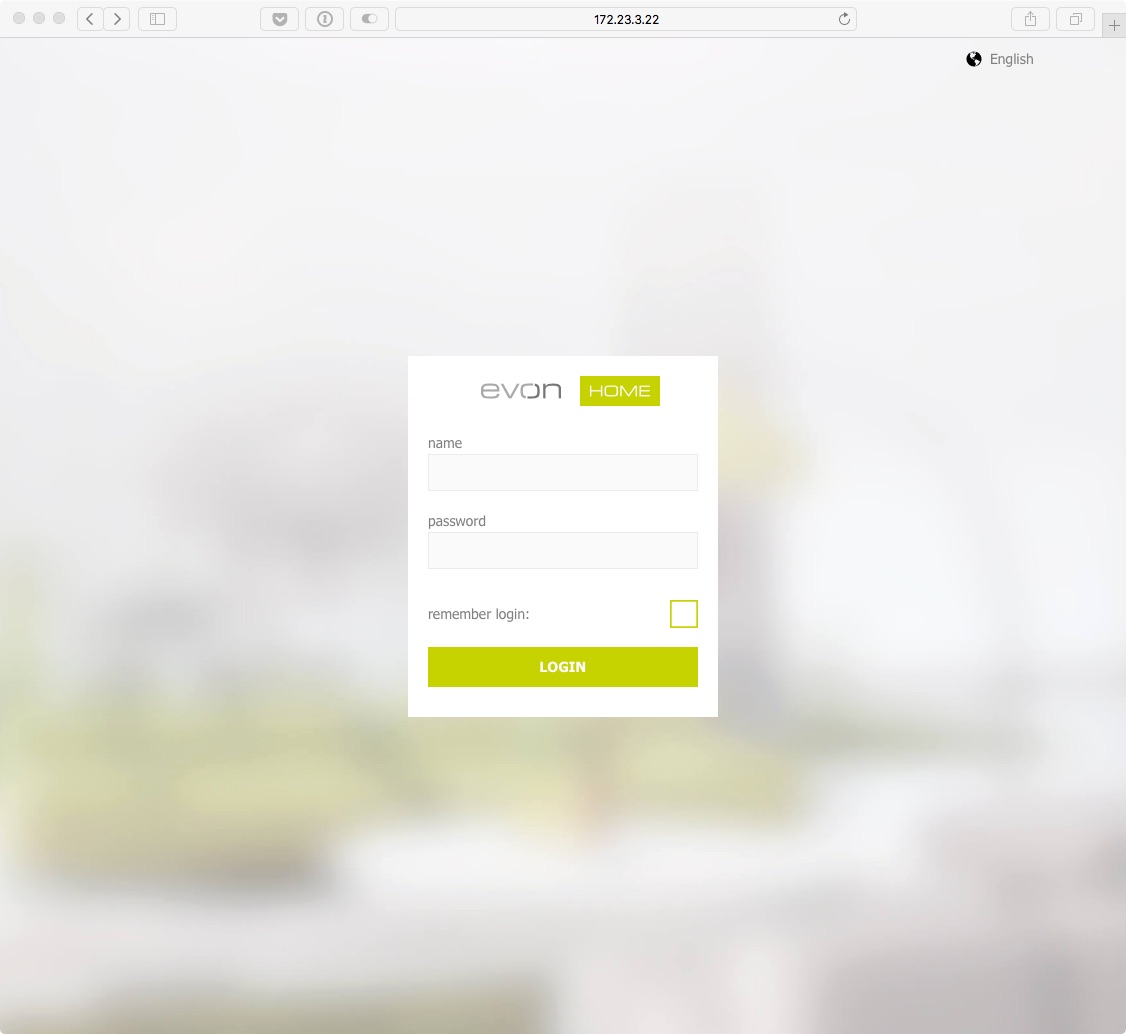
Besides accessing your evon Smart Home system with the official app, you can also connect to it with any modern browser (e.g. Chrome, Safari, Edge). You only have to know the IP-Adress (Which is displayed in the app once your system is found).

When you enter the address in the url bar of your browser, you will be directed to the login page, where you will have to enter your credentials. You can then use your evon Smart Home system like you are used to.

If you connect to your evon Smart Home system with a browser (e.g. Chrome), some device specific functions from the mobile App may not be available to you. These include, among others, native notifications, which also appear when the app is currently not in use.

Cache Löschen

Nach einem evon Smart Home Update kann es vorkommen, dass der Browser die Aktualisierungen nicht sofort korrekt darstellt. Hier empfehlen wir nach dem Update das Löschen des Browser-Caches. Nachfolgend finden Sie dazu die Anleitung für die diversen Webbrowser.

Google Chrome

Drücken Sie die Tasten "Strg + Shift + Entf" oder geben Sie "chrome://settings/clearBrowserData" in die Adresszeile ein.
Wählen Sie bei "Zeitraum" den Eintrag "Gesamter Zeitraum"
Aktivieren Sie "Bilder und Dateien im Cache" und klicken Sie dann auf "Browserdaten löschen"

Microsoft Edge

Drücken Sie die Tasten "Strg + Shift + Entf"
Wählen Sie "Zwischengespeicherte Daten und Dateien" und klicken Sie dann auf "Löschen"

Alternativ:

Klicken Sie auf das "..."-Symbol oben rechts
Wählen Sie "Einstellungen"
Suchen Sie den Abschnitt "Browserdaten löschen". Klicken Sie dort auf "Zu löschendes Element auswählen"
Wählen Sie "Zwischengespeicherte Daten und Dateien"
Klicken Sie abschließend auf "Löschen"

Mozilla Firefox

Drücken Sie die Tasten "Strg + Shift + Entf"
Es öffnet sich ein neues Fenster. Aktivieren Sie die Option "Cache" und klicken Sie dann auf "Jetzt löschen"

Microsoft Internet Explorer

Drücken Sie die Tasten "Strg + Shift + Entf"
Wählen Sie "Temporäre Internetdateien" und klicken Sie dann auf "Löschen"

Alternativ:

Klicken Sie auf das Zahnrad-Symbol oben rechts
Wählen Sie "Internetoptionen"
Wählen Sie das Register "Allgemein"
Suchen Sie den Abschnitt "Browserverlauf". Klicken Sie dort auf "Löschen…"
Es öffnet sich ein neues Fenster. Deaktivieren Sie "Bevorzugte Websitedaten beibehalten" und aktivieren Sie "Temporäre Internetdateien" und "Cookies"
Klicken Sie abschließend auf "Löschen"

External Access

If you are currently not at home, but would still like to have access to your home control, then you can use the external access provided by your evon Smart Home system. If you have activated this option, you can access your system from anywhere in the world assuming there is an Internet connection, just as if you were at home.

The configuration for external access is located under “all apps” – “settings”.

Configuration

Activate the function for external access in the settings by placing a tick next to it.

As soon as you have activated the function, the displayed status changes from “not connected” to “connected” and the evon Smart Home ID appears. This ID is required to connect you to your evon Smart Home system. It is a good idea to write this ID down, you will need it in the next step.

This evon Smart Home ID gives you the ability to access your system from a normal web browser (via
my.evon-home.com).

Logout

Return to the main screen. On the top left is your current username. If you click on it, the logout button will appear. Logout via this button.

You will now be on the start screen of the evon Smart Home app, which shows a list of all your previously connected systems.

Connect

Click on “new” to create a new connection. You will now see an overview of all possible connection types, as described previously.

Select “internet” as the connection type. You must enter the evon Smart Home ID in the next screen, along with your username and password. When done, connect via the button at the bottom of the screen.

As soon as you have successfully connected to your evon Smart Home system via the external connection, this connection will appear on the start page of your evon Smart Home app. You can now easily select this connection at any time.

The first external connection to your evon Smart Home system can take some time. Even once the connection has been established, please wait until all data has been uploaded before your quit the app.

Browser

Once you activate the external access, you can connect to your evon Smart Home system from every supported browser (Safari, Chrome, Edge).

Go to the website my.evon-home.com and login with your credentials. In addition to your user name and password, your will also require the evon Smart Home ID, which you received by activating the external access.

If you connect to your evon Smart Home system with a browser (e.g. Chrome), some device specific functions from the mobile App may not be available to you. These include, among others, native notifications, which also appear when the app is currently not in use.

Interface

Visualization of your evon Smart Home system enables you to control all functions in your home and adjust all necessary settings. There are a few simple concepts that we would like to describe here.

Current User

Once you have logged in, your username is displayed at the top left of the screen. Clicking on your username opens a menu where you can logout.

All Apps

A single click on the symbol (top right) opens all apps. This shows you all available apps. If you don’t want “all apps” open all the time, you can put frequently used apps into your favourites, as follows.

Favorites

Favourites lets you store apps that you use on a frequent basis.

If you want to add something to your favourites, mark the app (press the app with your finger/your cursor until a blue bar appears below) and select “add to start”.

If you want to remove something from your favourites, mark the app and select “remove from start”.

Marked apps can also be moved and sorted.

Areas

After the favourites are your areas. First up are your floors (ground floor and first floor in the diagram) and below that your areas and rooms. However, only those areas that contain something are displayed. For example, if a light is added to the room “bedroom”, the bedroom will be displayed.

Usage

Every app contains different views and representations that are used for opening, operating or changing settings.

App

This is the basic representation of every app in the system. A single click/press on this display opens the app view and its functions can be used and/or changed.

App Interface

As long as you have an app open, you can also open its view. This shows you all content and functions that are available to you. In the case of the light app, the items displayed include all connected lights and the group functions.

Group Functions

The group function can vary from app to app, but is mainly used to create new elements or to operate several available elements. Taking the app “lights” as an example, it can be used to switch all available lights on or off. In other cases, such as “user”, you can add new users.

Elements

This display represents a single element in the app. In the case of “lights” every single one of your connected lights is displayed like this. The display is divided into several individual sections, each one serving a different purpose. The area on the left contains operating elements in the form of one or more buttons that you can use to control the element (e.g. light on/off). Then there is a text area containing information such as the name and the allocated area. On the right, many apps have a status display showing you the current status of the element. Fo lights, you can see whether the light is on or off, or (if the energy saving mode is active) when the light will be switched off.

Clicking /pressing the text area of an element opens the settings screen where you can change the app name, allocated areas and functions as you wish.

Settings

This display offers you various information and settings possibilities for the selected element and is divided into several sections. On the top right are small buttons that let you jump into other areas. The first section contains the most important operating elements via which you can operate the selected element and, depending on the app, various items of basic information.

The second section contains the settings that you can change for that element. These allow you to change the behaviour of individual element to suit your needs.

This section shows you al the links for your element. This gives you an overview, should you desire it, of which switches or functions affect the element. You can also link the element with other elements, depending on the app. For example, in the app “lights”, you have the possibility to link a light with a motion sensor.

In the settings view, most of the apps have a button on the top right allowing you to access the official documentation.

Please note that the settings possibilities vary from app to app and therefore not all sections are available for all apps.

Notifications

Your evon Smart Home uses a range of notifications to inform you of events in the system. For example, if you have integrated a door intercom, the system can notify you when someone rings the doorbell.

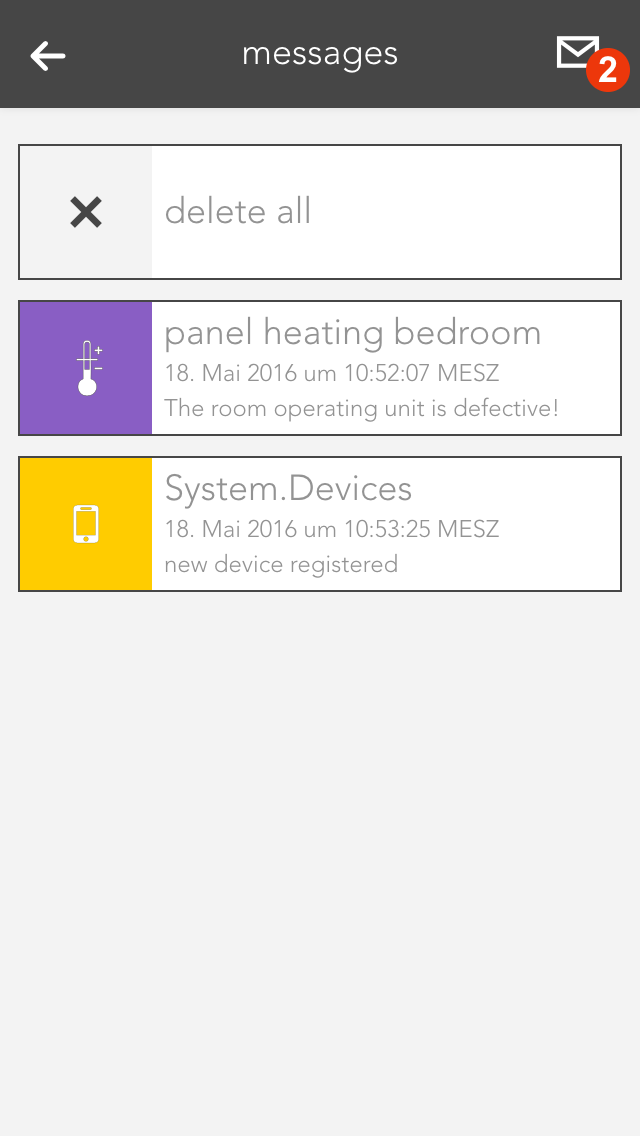
Depending on how you access your system, there are different forms of notification. If you access your evon Smart Home via an app or via a web browser, you will receive new notifications directly in the visualization. All collected and unread notifications can be found via the button “letter symbol” on the main page.

The evon Smart Home app, used on tablets and mobile phones, also offers you native system notifications. You will receive these even if you are not currently using the evon Smart Home app.

If you have started the evon Smart Home app for the first time, you will be asked if you would like to permit notifications to be sent to you. If you agree then the app will be able to send you notifications. You can change the settings for notifications for each individual device that accesses your system later in the app “devices”.

Kurzbefehle / Widgets

Um Aktionen in Ihrem Zuhause mit nur einem Klick ausführen zu können, empfiehlt sich die Konfiguration von Kurzbefehlen und Widgets.

iOS

Mithilfe der App "Kurzbefehle" können evon Smart Home Szenen schnell und einfach ausgeführt werden.

Zum Anlegen und Verwalten der Kurzbefehle die App "Kurzbefehle" öffnen.

Mittels Klick auf das "+" können neue Kurzbefehle angelegt werden. Es empfiehlt sich, die Kurzbefehle in Ordnern zu Gruppieren, da diese später in den Widgets ausgewählt werden können. Kurzbefehle können jedoch jederzeit in andere Ordner verschoben werden.

Nach dem Anlegen eines Kurzbefehls kann dieser benannt sowie ein Icon und eine Farbe konfiguriert werden. In einem Kurzbefehl können durch Klick auf "Aktion hinzufügen" beliebig viele Aktionen hinzugefügt werden.

Unter Apps finden Sie die App "Smart Home". Durch Klick auf die App kann die Aktion "Szene ausführen" hinzugefügt werden.

Durch Klick auf den blau hinterlegten Wortlaut "Szene" werden ihre evon Smart Home Szenen geladen und können anschließend ausgewählt werden. Dies kann einige Sekunden dauern.

Alternativ können sie durch Auswahl von "Jedes mal nachfragen" einen dynamischen Kurzbefehl erzeugen. Welche Szene ausgeführt wird, kann dann beim Ausführen ausgewählt werden.

Sollten Sie mehrere Controller besitzen, kann durch Aufklappen der Aktion der Controller ausgewählt werden.

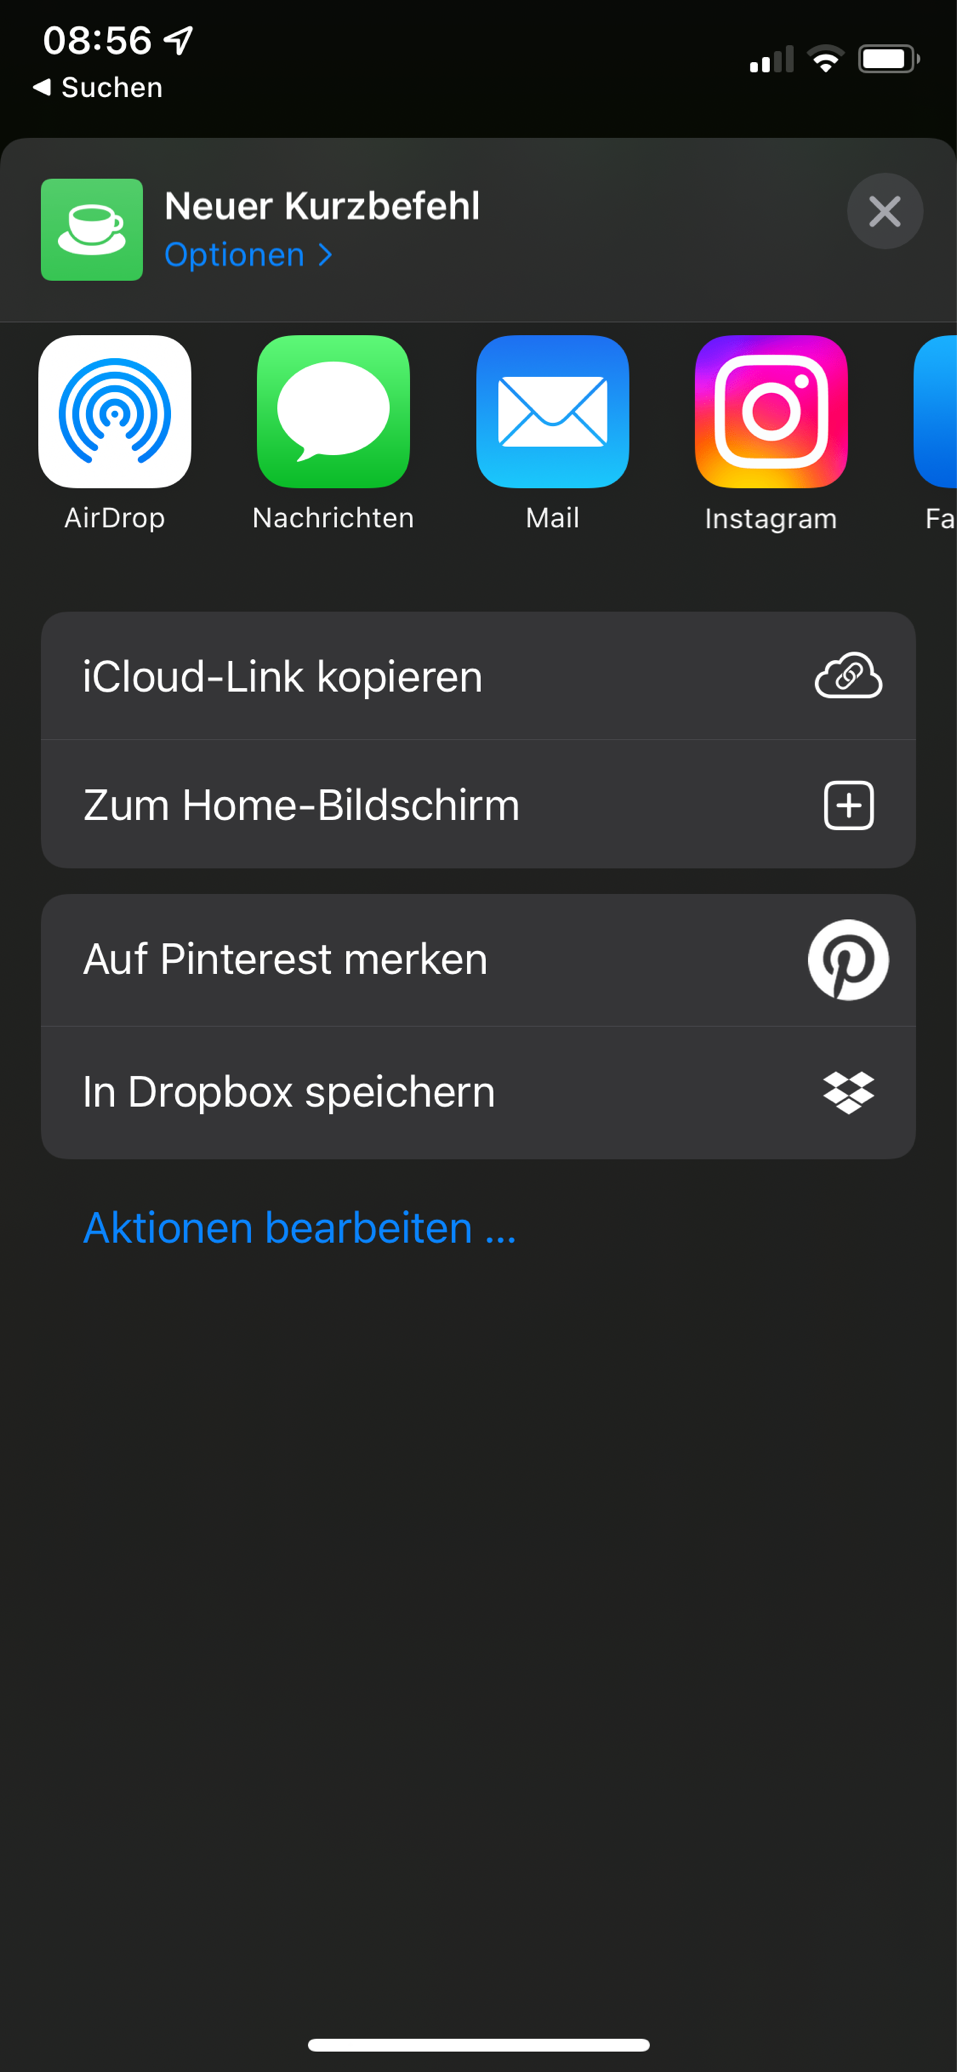
Am unteren Bildschirmrand kann der jeweilige Kurzbefehl mithilfe des "Teilen-Buttons" auf den Home-Bildschirm hinzugefügt werden. Dabei kann dieser anders benannt werden.

Kurzbefehle können auch als Widget in unterschiedlichen Größen auf den Home Bildschirm gelegt werden.

Dazu muss durch gedrückt halten einer beliebigen App der Home-Bildschirm in den Bearbeitungsmodus gewechselt werden. Mittels "+" in der oberen linken Bildschirmecke können Widgets hinzugefügt werden. Hier kann die App Kurzbefehle ausgewählt werden und anschließend in beliebiger Größe frei platziert werden.

Durch gedrückt halten auf das neu hinzugefügte Widget kann das Widget bearbeitet werden. Dabei kann ein Ordner ausgewählt werden. Dies erleichtert die Gruppierung von Kurzbefehlen.

Ähnlich der Kurzbefehle können in der Kurzbefehle-App auch Automationen erstellt werden. Dabei können Szenen aufgrund bestimmter Ereignisse ausgeführt werden. Ereignisse können beispielsweise das Verlassen des Gebäudes oder das Verbinden mit einem WLAN oder Bluetooth sein.

Android

Mithilfe von Widgets können evon Smart Home Szenen schnell und einfach ausgeführt werden.

Die folgende Beschreibung kann je nach Gerät leicht variieren.

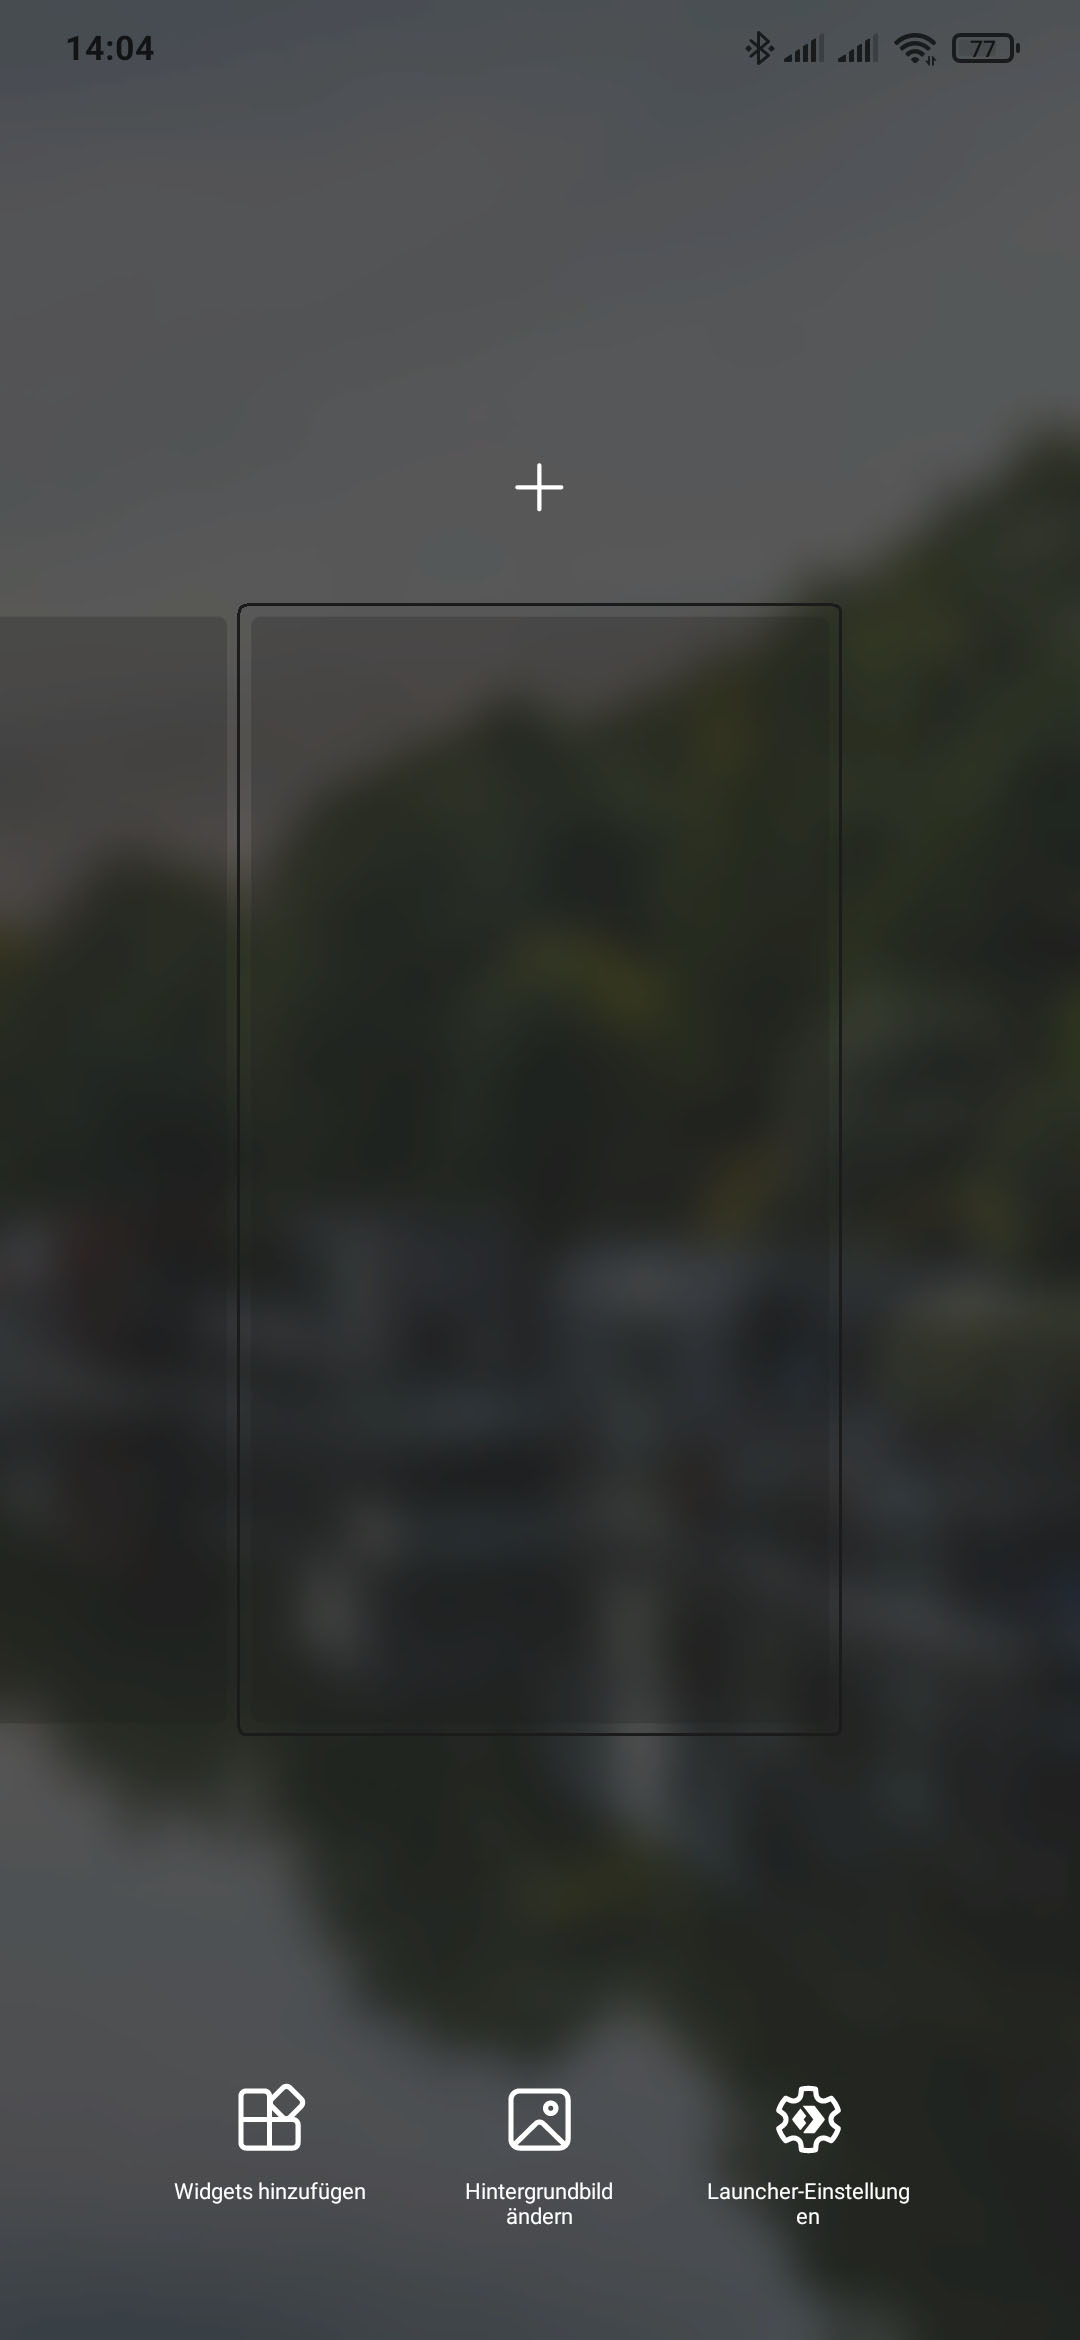
Drücken Sie am Starbildschirm Ihres Android Smartphones lange auf den Bildschirm und wählen Sie "Widgets hinzufügen"

Selektieren Sie das "Szenen" Widget unter "Smart Home", indem Sie es lange gedrückt halten und dann am Bildschirm platzieren.

Wenn Sie über mehrere Verbindungen in Ihrer Merkliste verfügen, dann selektieren Sie die gewünschte Verbindung, ansonsten wird automatisch der nächste Schritt gestartet.

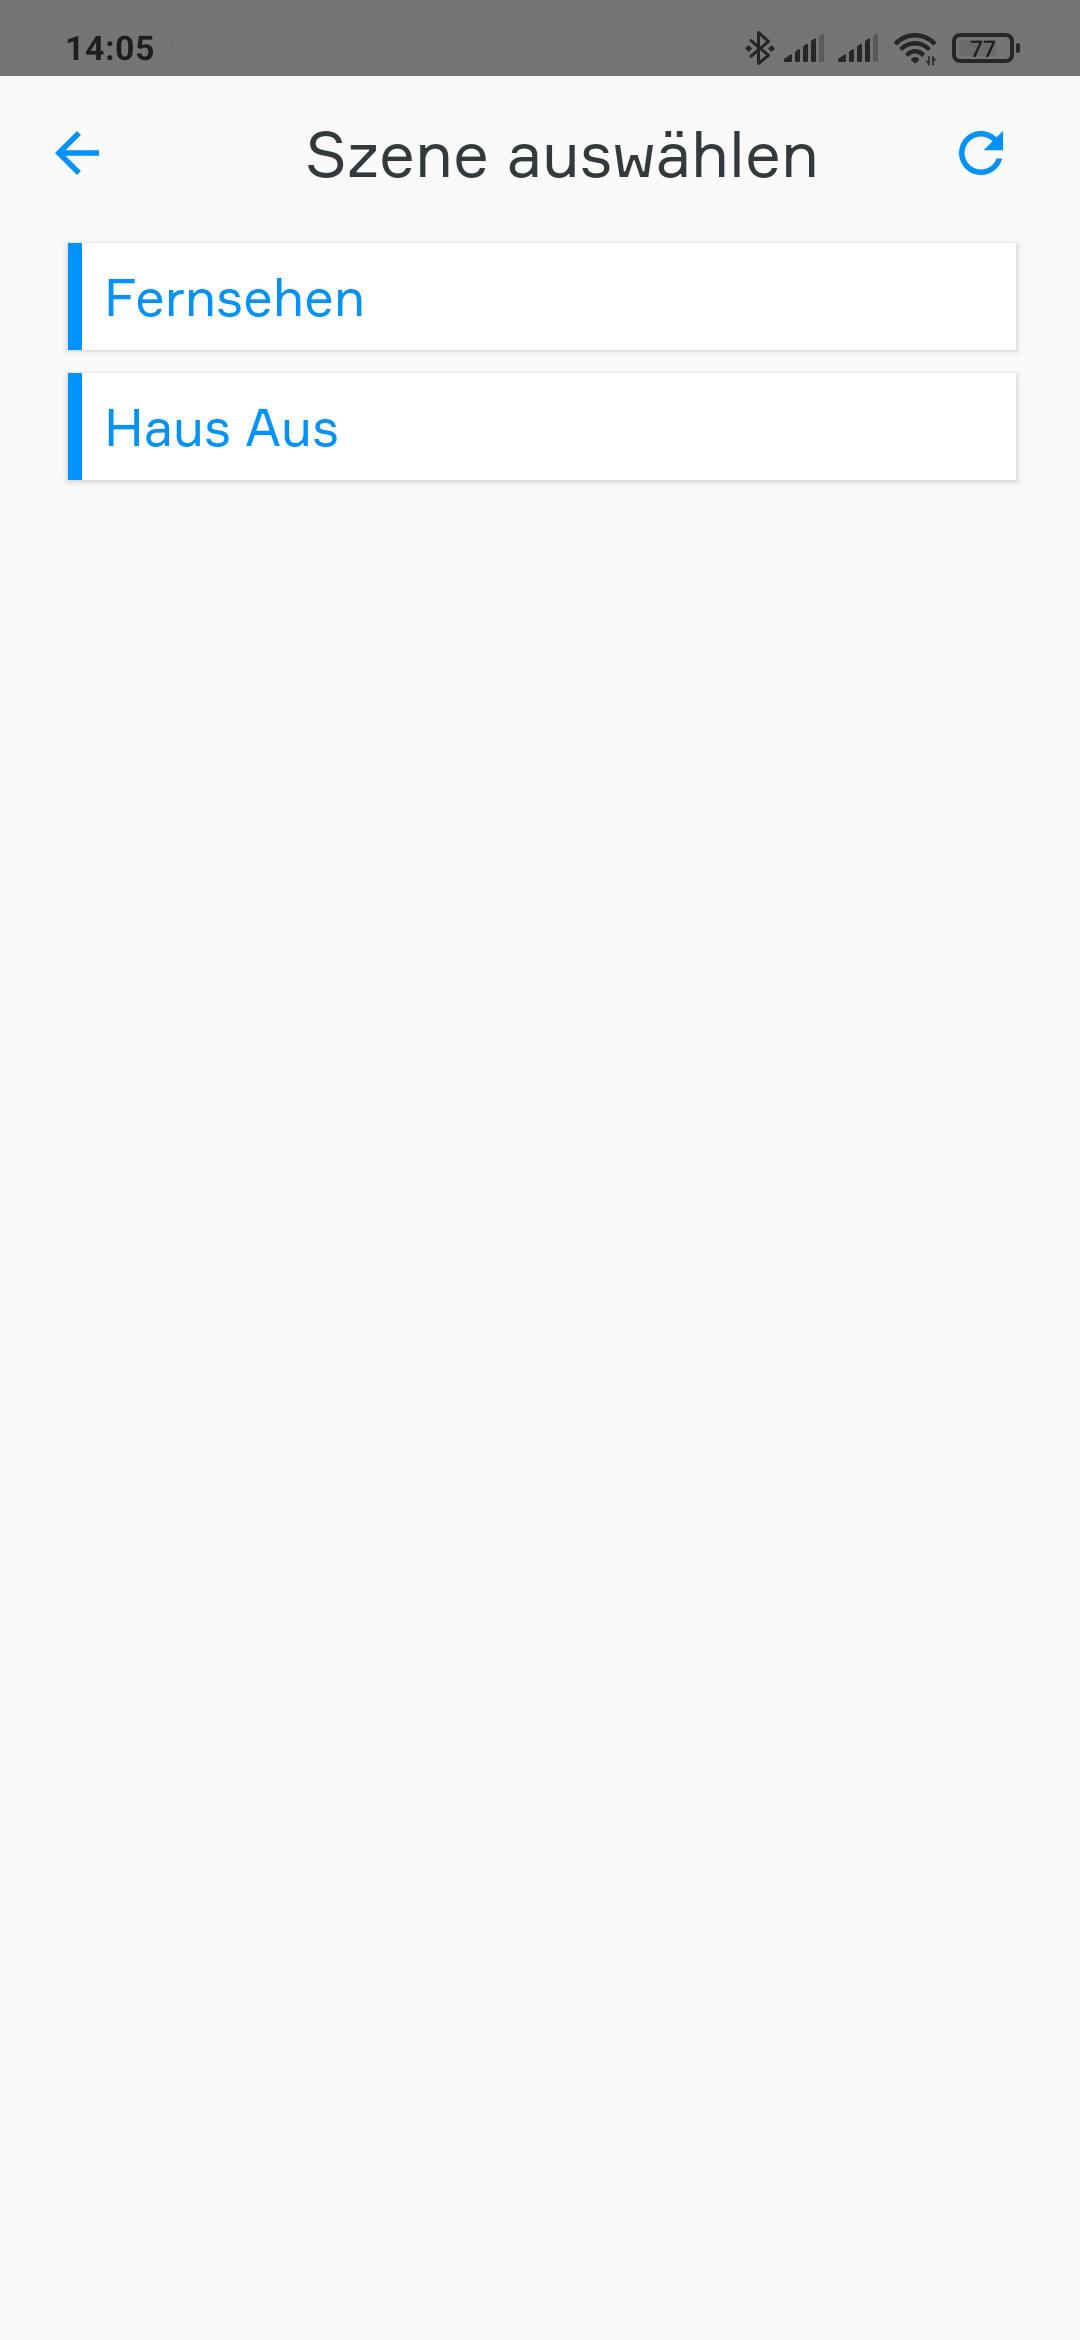
Wählen Sie die Szene aus, welche Sie über das Widget starten wollen.

Sie können nun auch noch ein Symbol und eine Farbe für das Widget vergeben. Nach dem Klick auf "Übernehmen" wird das Widget zu Ihrem Startbildschirm hinzugefügt.

Durch einen Klick auf das Widget wird die Szene ausgeführt.